index_179
UNCLASSIFIED
Advanced Security Services
Version 1.0g
UNCLASSIFIED
179
Click “OK”, and then click it again on the next window. You should now be back at
the window where you selected the “General” tab. Now select the “Rules” tab and
let’s continue. Click the “Add...” button, which will use a second wizard. When the
introduction screen for the wizard shows up, click “Next”, which will make the
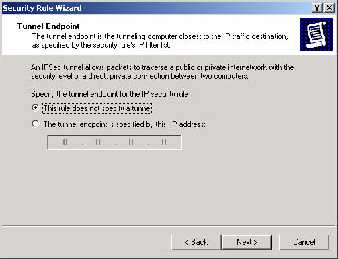
following tunnel endpoint window appear.
Since we selected transport mode when configuring the Cisco router, we do not need
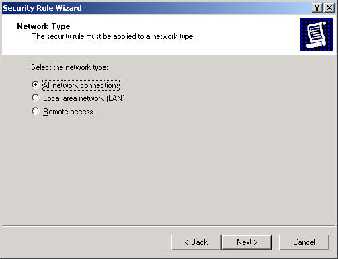
this tunnel. Continue on without specifying a tunnel. The next screen is about which
network connections to use.
The network type “Remote access” is useful if you are using phone lines to connect
remotely, but in this case, choose either LAN connection, or even better “All network
connections” can be used. Click “Next”. Now is the time to enter the passphrase.
Recall that we previously selected “my4pa$$phra$eHere” as our choice when we
configured the Cisco router.